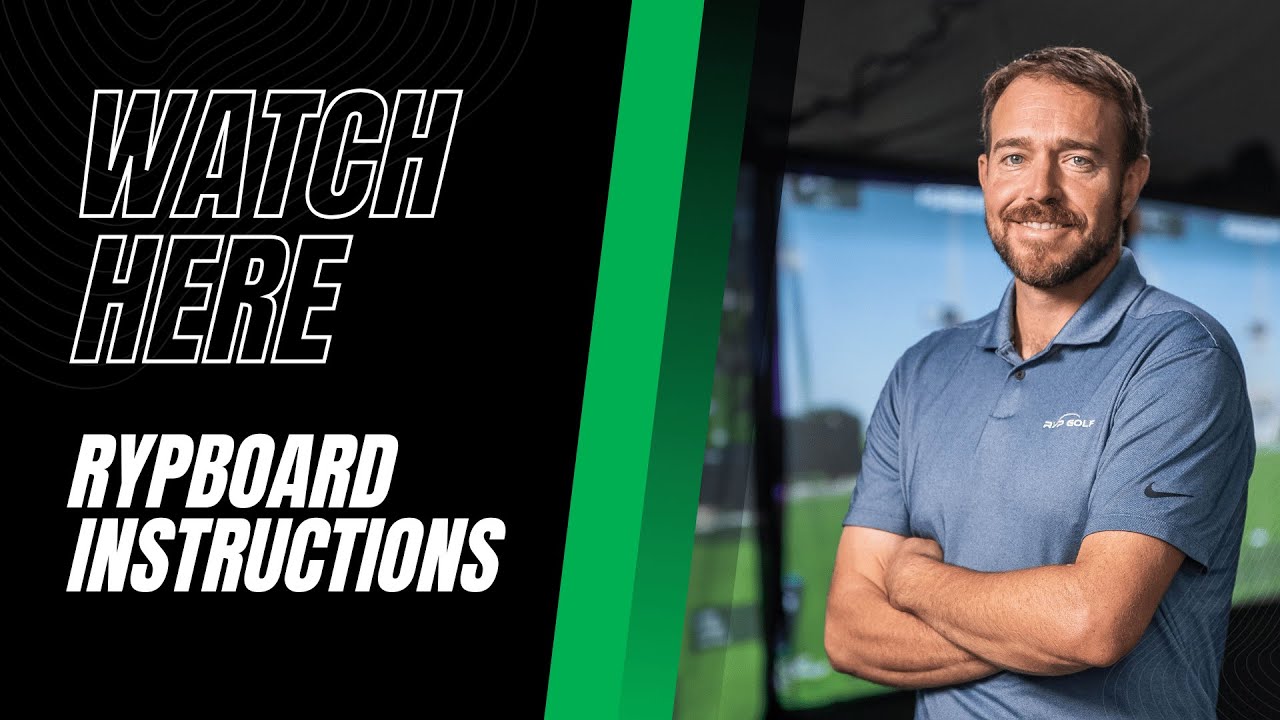
Thank you for purchasing the RypBoard, follow along as Dr. Luke Benoit demonstrates how to use the RypBoard! If you have further questions please see the FAQs on the backside of the instructions, or email support@rypgolf.com
Hey golfers thanks for purchasing the rip board I’m going to teach you how to use it there’s three different ways number one is just work on the pivot itself without a golf club or ripstick and that’s a good way to begin if you’re not sure you have a good pivot now you
Can have a faulty pivot for a number of reasons you might sway in your back swing you might slide too early in your down swing you might turn and not shift at all to your front foot so I’m going to detail the three phases of developing
A good pivot and you can uh troubleshoot and find out which phase is most important to you and then put it into action with your training PL so for the pivot face let’s grab a ripstick or a club get on the rip board you’ll notice it’s got D which means driver that’s a
Wide stance seven irons a little more shoulder width for most players P is for pitching you know shot around the green that’s maybe a little bit higher than uh just kind of a low bump and run and then chipping you’d be almost in like a a a
Very close stance now you can decide where you’d like to be most people like to see seven iron to driver to feel more weight shift working on what we call the linear Trace shifting from the front foot to the back foot so phase one of this this work get the ripstick on your
Shoulders what we’re going to do is we’re going to start with our weight actually a little forward so preset a little bit and as we begin our move you’ll notice a lot of good players actually shift forward and then they shift into the back foot like this so
We’re going to feel this shift forward and then back that’s your trigger and then when you’re at this point of your swing what you’re going to feel is your Trail hip goes nice and high but we don’t Sway and get back all the way here our Center of mass stays somewhere in
The middle even though we have a lot of pressure moving into the back foot you’ll notice my hip again is not swaying okay so that’s phase one is like this you’ll also notice that there’s some pressure that’s uh kind of kind of still on this toe a little bit at the
Top the more you you feel like you’re actually not moving back the more I want you to actually lift this heel to make sure you’re doing it if you’re one of those golfers where you’re like stuck over here then you literally need to feel like you’re lifting your heel and
Your your weight’s going to your back foot as with all things engulf you want to exaggerate whatever your moo might be lacking so if you don’t think you’re shifting that trail foot this is a good way to do it so from this view phase one looks like this you’re going to
See on this back swing that I’m going from front foot to back foot and my trail hip gets nice and high and I have a big hip turn big coil my shoulders are turned all the way okay so that’s phase one and you’ll see I’m actually going up
In that hip which allows me to get ready for phase two of our pivot which is the loading down phase or the kind of unweighting phase the unweighting phase or phase two of the pivot is where we actually go down and over our lead foot
From here and you’ll notice as I do this move I’m going as quickly as I can feels like I’m kind of pushing into my lead toe and I’m actually not turning my shoulders right away where most amateurs get into trouble is in phase two that they typically will actually um turn
Their shoulders too early which makes them come over the top if you’re here at the top of your swing and you just start shifting your weight at the same time turning your shoulders your plane’s going to come over the top and you’re probably going to slice the golf ball so
You want to feel during this second phase that your shoulders don’t uncoil right away you’re going to feel the linear shift first get that weight to the front foot like this and then you can go ahead and twist which is our last phase so phase three of the pivot is
Where we take that momentum or linear Trace that we that we earned from going from the trail foot to the front foot which is right here and we’re going to now we’re going to push and explode off that lead lead foot and the best way to
Do that is to make sure that your weight goes out over your toe a little bit which is a good thing to work on if you early extend a little bit and you’re going to have your weight here and then you can push and twist off of it so I’m
Going to actually go phase one phase two phase three now if I put them all together watch how the board wobbles a little bit as I do this so I go back like that so I go back like that and you’ll actually see that that
Board is moving a little bit as I do this and that’s good that means you’re doing it properly so let’s take a look at the down line view so I’m going to Trail foot Lead Foot explode watch it in real time and you can see it actually spins
Just a little bit which is just fine you’ll notice a lot of people don’t actually do a very good job of loading down into the ground right here where I’m pushing into my lead toe now that my Mass is over my lead toe then I can push
From my front toe towards my heel which is the move that the pros and the long drive guys are working on a lot is to make sure that they’re working from the toe to the heel so we call that anterior posterior pressure toe to heel is the
Last part of the move so again was here back foot front foot explode One More Time full speed so that’s essentially the pivot now let’s talk about how you can use it using a ripstick so I’d recommend when you begin actually to keep all the weights in the ripstick so we’re going
To start with all the weights in the ripstick and we’re going to swing smooth choke down just a little a little bit on it and we’re going to feel the same moves going Trail foot lead foot push rotate so now at full speed it would look like
This and you might notice that this board May twist just a little bit um but if you get it in a good spot with good traction you should be just fine you’ll notice that that is good biomechanics to actually make the board move just a little bit
One more time watch my Pivot going Lead Foot Trail foot Lead Foot pushing rotate and that’s how you’re going to work on it with a ripstick okay last thing you can do is grab a golf club and actually hit a ball with it I’d recommend especially for beginners that
This is a really good drill for working on basically simple sequencing and uh essentially uh a short club with like a wedge something like that is a good way to work on this this so you’re going to feel actually like your arms are not moving that fast and you’re going to
Have relaxed wrists and you’re going to feel like the weight shift governs everything you do so to put it into action it’ll look like this front foot Trail foot just like so so if you have any questions about this feel free to reach out to our team I hope this video helps
You understand the movements of the pelvis and uh know that we do offer coaching through our app and if that’s something you’re interested in please reach out excited to help you gain some speed with the rboard


