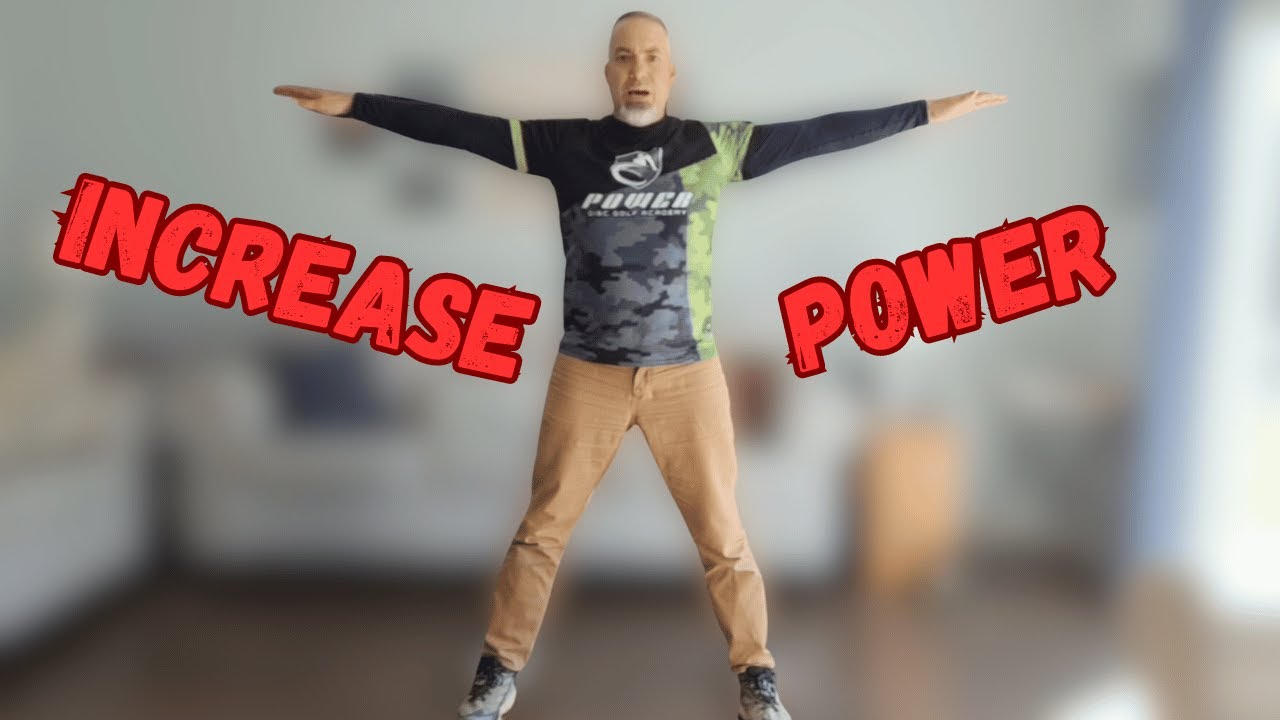
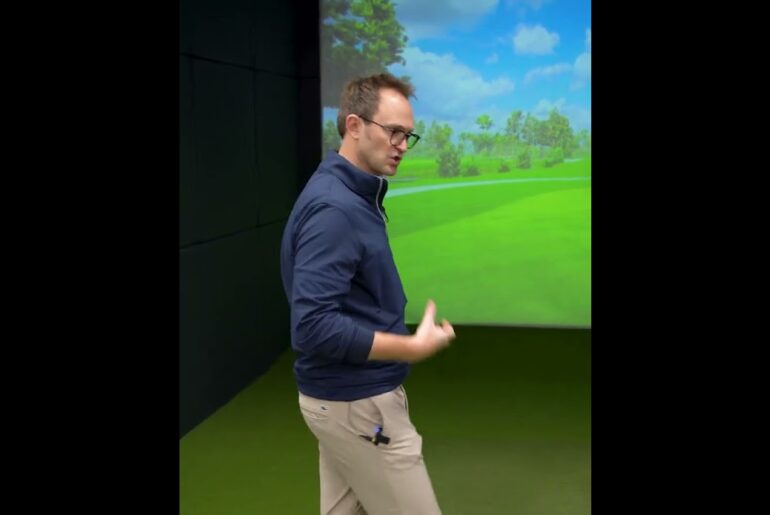
Be intentional and deliberate about not leaking power in your backhand. This tip should help us maximize distance off the tee!
Use the D-Clip for more putting power!
https://d-clips.com/DISCSMD for 10% off!
Go grab your friction gloves at www.frictiongloves.com !
Use code DiscMD20 for 20% off!
Lone Star Discs – https://lonstardiscs.com
Use code marcsmith for 10% off!
Join the Power Disc Golf Academy!
https://powerdga.com
Join Us in Facebook!
https://www.facebook.com/profile.php?id=100092249472649
Instagram – https://instagram.com/discsmd
#dg #disc #discgolf #discgolfer #discgolflife #discgolfing #discgolfeveryday #discgolfdaily #disgolfshootouts #discgolfshoutouts #golfaddict #frisbee #frisbeegolf #discgolflove #lonestar #lonestardiscs #teamlonestardisc #disclife #pdga #powerdga #powersdgacademy #discsmd #enjoythejourney #growthesport #growthegame #discgolfphotos #discgolfcourse #discgolfnation #discgolfislife #holeinone #pdga #putt #PAdiscgolf #throwingdiscs #playingdiscgolf #discgolfaddict #lonestarlieutenant #lieutenantteam #discsmd #discs #forehand #snap #frictiongloves #dclip
Hey DMP family welcome back to another discs MD video buuny here and today we’re in the garage because outside it is crazy windy you’re probably going to be able to hear it a little bit I’m I’m trying to keep the garage door open so we get better lighting but um gets too
Windy I might have to shut it and go to the garage lights anyway real quick out here uh today I’m going to be talking about coil um what is it and how to help it uh and more specifically your upper body coil right I think we all have uh
What lower body coil is right and this is what I’m talking about when we go into our X step and get to our plant and we turn our hips back we go under our back swing right lower body core coil and the reason I’m making this video is
It it’s becoming apparent to me that a lot of people stop with lower body coil like they go to reach back they turn their hips back and this is coil to them but the problem is do you see my shoulders in relationship to my hips they’re neutral right my shoulders and
My hips are in alignment I think we lose a lot of power we lose a lot of potential to power if we don’t focus on upper body coil and what I mean by that is shoulder to hip separation I’ve talked about this before I’ve been focusing on this in the offseason but I
Wanted to bring out another video just to reiterate and uh reaffirm my my belief that it’s necessary for us to be intentional about focusing on upper body coil and upper body coil is all about shoulder separation from the hips so if you stand up put your hips forward right
Facing the screen keep your hips still and just turn your shoulders back so for you left handers know it’s turning this way your right handers it’s turning this way but if you keep your hips still and turn your shoulders back yeah you feel that tension it’s hard to talk because
I’m a lot of tension in through my midsection and that is potential energy being stored up to be able to release through your shot we lose a lot of power if we neglect that right so then we so then what it looks like is we get into
Our xep go to our plant turn our hips back and then as we go into our back swing also rotate our shoulders past our hips to create that tension now it’s not it’s not actively like crunching your abs right it’s rotating your torso right it’s trunk rotation
And you have some big muscles that are that are uh responsible for trunk rotation right your internal and your external obliques uh your uh traps and your lats uh in your back all contribute to your ability to rotate your trunk like this a lot of big muscles to give
Us a lot of power in our movement so do not neglect upper body coil uh over top of lower body coil we need both right U Clint over at its Blitz talks about the power stack well upper body coil is part of that power step so be deliberate and
Intentional about feeling what it feels like so drills to do is just stand still right stand here get a disc right keep your hips still and then turn your upper body up and reach your disc back go into your back and then from here release and feel that feel that upper
Coil release isolated from your movement right and then put it into your ex step coil turn your shoulders and feel what this feels like and then release that right so being intentional isolate it from your lower body and then put it all together so that you can feel what it feels like the
Coil the top part of your body in order to do that we need flexibility horc flexibility right and thoracic is your thoracic spine from the base of your neck to the base of your ribs T1 through T12 uh in your spine thoracic flexibility a little bit of Lumbar flexibility mostly that thoracic
Flexibility is what we need so we need to do stretches to increase our thoracic flexibility and we need to do some exercises to strength up those rotational muscles those internal and external obliques the uh the uh lats and the traps had to get through all that so
I have some things that we can do to work on flexibility and strength let’s get to those right now all right we’re going to move inside just because it’s cold and windy outside uh my disclaimer before we get started I am not a doctor
I am not a physical therapist I am not a certified personal trainer although that last one I’ve been threatening to do for the past decade and just haven’t gotten around to it so maybe one day I love being in the gym I love training I love muscles I love Anatomy I love physiology
Consult your doctor before you do these you should not feel pain while doing any of these movements uh if you do please stop all right there’s my disclaim so four flexibility uh thoracic flexibility stretches uh I’ll start from the least difficult to the most difficult in my
Mind anyway so the first one is called thread the needle uh maybe you’ve heard about this one uh it’s done on all fours and what I like to do is to do some dynamic stretching before I do static stretching so do some Dynamic stuff before you do your static stuff just to
Get your joints and your muscles loosened up and limbered uh with with a thread to KN while you’re on your all fours you can do some cats and cows uh those those are pretty easy right cows are uh tailbone and head to the sky dropping the center of your back and
Then cats is arching your back up to the ceiling right so just do a couple of these just to get that back loosened up all right and then we’ll go to thread the needle and thread the needle is can you see me here I’ll move back a little
Bit so I’m going to take my left arm I’m going to thread the needle I’m going to put it through underneath my right arm in between my arm and knee and go all the way down so that my ear is on the ground reach as far as I possibly can
With my left arm and just holding here 10 15 seconds feel that stretch in your lat and in your shoulder go ahead and make sure you’re keeping your core tight make sure you breathe while you’re doing this and then up and then we’ll switch sides and do
The same thing on the other side take my right hand put my right hand through I do palm up on the floor put my ear on the ground keep your core tight breathe while you’re doing this feel the stretch in your lats and your shoulder and your
Back and then back up so do that you know two or three times each side get a good stretch in your back and that’s called thread the needle let’s move on to the next one so the next one are lying windmills you’re going to need something to prop your knee up on
There’s different ways to do this I’ll show you the way that I do it um the different variations of weight keep your leg legs um some people let me show you real quick some people keep keep their legs together right I keep my underneath legs straight and my top leg bent that’s
Why I need something to rest it on right so if I’m on my side here bottom leg straight this knee bent in a 90° arm straight out in front of you and then we’re going to Windmill back in the opposite direction bring this hand up and back and try to
Lay it on the floor behind you okay what I’m trying to do is put my right shoulder on the floor you might not be able to you might even be able to get here you might even be able to get here but soon as you start increasing your flexibility keep
Your knee in contact with whatever is underneath of it and then put your hand on the floor and again leave here for like 10 or 15 seconds make sure you’re breathing make sure your core is tight right be active in your stretching be deliberate about your stretching and then bring it back and
Then of course need to do the other side so I’ll do it so I’m facing the camera left knee up right leg extended hands out in front up and touch you can touch your hand to the floor but more importantly you want to make sure this shoulder this opposite
Shoulder is touching the floor so your back your upper back is almost flat on the floor again keeping your core tight and breathing through the stretch you should feel this all down in your obliques right through here feel a nice stretch in your obliques then bring it up and bring it
Over again do two or three on each side there now we’ll move on to to our third one all right our third one are seated twists so this one we’re going to be putting our feet straight out in front of us keeping our spine as straight as
Possible don’t lock your knees uh keep a little Bend to them feet straight up out in front of you then what we’re going to do is going to take our left leg and bend it up and then put our our foot behind our opposite leg and then we’re
Going to take if your left leg is over you’re going to take your right arm your right elbow put it behind your left knee and turn yourself to face backwards again breathe through it keep your core tight and feel the stretch you’ll really feel the stretch in your lats in your
Traps you’ll also feel it down in your obliques right so you’ll feel that whole rotational stretch so I try to keep my head as neutral as possible I don’t crane it to look behind me but I want to turn around to be facing as backwards as
Possible and then again you do it to one side you have to do it to the other side so right foot over my left leg and I am more tight this way which is bad for me because this is the way I rotate my back end so I need to do this
More and again left elbow on the outside of the right knee turn backwards try to keep my spine straight keep my abs tight breathe through the stretch try to look back as much as possible there you are those are seated twists one more and then we’ll move on
To some strength training all right this last one is done standing up and this is a variation of a standing windmill okay so feet a little wider than shoulder width apart the The Wider you have your feet uh the more takes the hamstrings out as being a limited factor I also
Like to keep my knees slightly bent like don’t squat but like keep a little bit of Bend into them so you don’t want put a lot of pressure on your knees when you’re doing this but again feet a little wider and shoulder shoulder width apart we’re going to put our arms
Straight out and I’ll start going down with my left arm what I’m going to do is take my left hand reach down and touch my right foot and while I’m doing that reach my right arm up into the sky okay so it looks like this try to keep my legs as straight as
Possible okay and when I get down here I like to use my foot to help brace myself and turn myself so I can get this arm as far up to the ceiling as possible and we’ll feel this a lot in our obliques you’ll feel it in your hamstrings you’ll
Feel it in your hip flexors you’ll feel it in your glutes right and then back up and then again we got to do it to the next side you have to make sure that you’re breathing through this if you don’t you’re going to pass out so please
Breathe through this all right so now we’re going to take our right hand down to our left foot and do the same thing use the foot as a brace to pull us and get this arm as far to the sky as we can breathe through this one is
Tougher and then back down so this one is is a more advanced stretch so I would start with the first three and get a good grasp good flexibility there and then you can start working on doing this one so those are the stretches that we can do to help with our thoracic
Flexibility now I’ll go over a couple exercises that we can do to help with strength all right first thing we’re going to do is seated rows for lats and traps uh and I do like I like to do high to low rows when I’m trying to engage
Both of these um if you do straight up and down that’s a lot more lat if you do um straight in line rows seated rows that’s more of your uh traps and rhomboids doing like a 45° angle high to low pool or maybe a little less I guess
That’s a little less than that uh engages both better I think so I have bands here I I have a thing that adapts it to my door so I can pull against my door if you have a pole you can wrap it around just whatever you can do to mimic
This um and put the point that you pull against above your head you know 30 33 Dee 45 degree angle is fine but we just want to pull from high to low right so neutral spine straight spine arm straight out in front of you and you can
Do variations of how you hold your hands if you’re if they’re sated or neutral or pronated uh up to you uh for Comfort level they’ve done studies with electromagnetic ping to to find out which one activates the ls better but I don’t get into all that just whatever’s
Comfortable use it so so straight out and then we want to pull down back and down right so I’m coming from above my head and I want to finish at my chest right and I’m pinching my shoulder blades behind me and squeezing through the motion right down and back
And squeeze through the motion and when I go back don’t just don’t just get here and go control back just squeeze as you’re going back and then squeeze as you’re going down right so however many is comfortable 10 to 12 of these just really feel that back tighten that back
Squeeze it’s like you’re trying to pinch a pencil in between your shoulder blades when you come back right so pinch squeeze back and down do you know 10 to 12 of those do three sets of them and then we’ll move on to our next one all right so the
Next one that we’re going to do are rear delt flies or bent over flies whatever uh I have uh kettle bells here and I’m doing real light right now just for and these actually should be real light if I go above 10 lbs on these it’s a lot hold
On my dog wants to join us all right you want to go outside all right hold on and we’re back okay so knees bent feet about shoulder withth apart going to bend over at the waist going to keep my spine neutral my head neutral my head facing
Down reach down grab my kettle bells and I’m going to go straight up and back and again I want to try to pinch that pencil between my shoulder blades right and this is more rear Del this is more trap than lat but these are good for rotational strength as well and good for
Pull through strength so I’m going to do 10 12 of these really again feel the squeeze go all the way back down and control coming down right I don’t want to get up here and then just let them drop I want to go control up and then
Control down keep my spine neutral head neutral control up control down again three sets of these 10 to 12 a piece rotate those and that’ll be good strength for your traps your lats for your rotational strength all right so now for our obliques and these are called Wood
Choppers and there’s two variations of these you can do rotational or you can do anti- rotation I’ll show you both so I have my bands again they’re lodged in my door again I’m going to bring them out so they’re tight grab both of the handles with both
My hands and we’re going to just chop wood I’m going to bring for the rotational I’m I want to rotate my trunk right so I’m going to face about a 45 backwards keep my arm straight out in front of me and then bring the bands through until I’m about a 45 on the
Other side and then slow back right out through rotating as I go hit the 45 so I still feel tension and then slow back and you should feel a lot of pressure in this hip and down into your back foot as a brace against the resistance as I’m pulling through these
Right keeping my shoulders and arms locked right in front of me the whole time these are the rotational Wood Choppers okay and this is for internal external obliques now there’s a variation where you do anti-rotational and I would advise doing both because they focus a little bit differently on the muscles doing them
One way versus the other but the anti-rotational is keeping my body my torso facing straight the entire time and only moving my arms right so I’m resisting the rotation with my core instead of enhancing the rotation with my score with my core okay so facing forward reach I’m going to stay straight
Ahead with my with my uh torso with my abs and with my hips stay straight ahead and I’m just going to pull my arms through and you’ll feel it’s a little different when you do the anti uh the the anti-rotational version of bees than when you do the rotational version so
Again do both sides do 10 to 12 each good for the internal and the external obliques to help with rotational strength let’s do one final exercise and then wrap it all up all right one final strength exercise oh let me get my chair out of the way okay that’s better so
These are oblique crunches you know you know the standard ab crunches these are the oblique version of crunches so going to get on the floor I do weighted you don’t have to do weighted on the floor on your side knees up uh not quite to 45 but knees bent to give you some
Stability you can also do the leg straight out if you want to I don’t I do both to the side we want to be laying almost flat on our back or flat on our back so both shoulders are on the floor then we’re going to take if you want a
Kettle bell you can you don’t have to uh you can do these non-weighted but I’m just going to reach for this guy H I’m going to go back down make make sure my shoulder blade touches the ground so I have full extension and then
Reach up as far as I can try to pull my shoulders up off the ground and you’ll feel a lot of tension in through here and then back down again the weighted version looks like this push that weight up through the ceiling as far as I can and then all the
Way back down controlled movement back down again and then up to the ceiling squeezing as much as I possibly can try to get my entire shoulder blade off the ground and then controlled back down again I don’t know 15 20 of those on each side with with obliques with abs uh
Those muscle fibers take a lot more repetition to Fire and get tired so um you know what I’m going to give you one more bonus and then we’ll wrap it up okay so these are called Russian Twists if you’ve never seen them before there’s a lot of very iations I’ll give you the
Easiest variation Seated on the ground knees bent up in front of you what we’re going to do is we’re going to twist and touch the ground uh we want sorry we want our shoulders back a little bit we want to be seated let me show you we
Want to be seated back a little bit right we don’t want to be straight up and down we want to be seated back a little bit what we’re going to do is take both hands and touch the floor and I’ll do this front view take both hands
And touch the floor on both sides see to back right we’re going to keep our ABS tight our core tight through this process make sure we’re remaining back in our posture spine straight but leaning back touch left and right 15 times on each side three sets of that as
Well this is good for the internal and external obliques variations of this once you once this becomes too easy for you you can lift your feet let show you lift your feet off the ground and touch on both sides make sure you touch the floor don’t cheat touch
The floor on both sides right another variation is using a weight right and setting the weight down picking it up setting the weight down picking it up and then the total Advance like to the Moon Advance is using the weight with your feet off the ground making sure the
Weight goes down and I even like to let go pick it back up put it on the other side so Russian twist good exercise for internal and external over Lakes as well let’s wrap it up all right well there you have it there’s where why and how we
Deliberately focus on upper stack Co coil in our throw again we need to be deliberate and intentional about it I think we lose a lot of power if we don’t focus on coiling the upper body with the lower body so hope you enjoyed this hope it was useful and helpful to
You uh as you practice and get better put it in the comments below what you think of it if you want more stuff like this I’ll certainly do it I love to work out love to train love to learn about it uh again I I want to be a personal
Trainer I’ve been threatening to do that for a long time but just it takes a lot of time to do so with a full-time job and a family it’s tough but maybe one day we’ll see so anyway thanks for t tuning in thanks for watching until next
Time enjoy the journey here’s your ver of the Day



1 Comment
Need more of this for my aging body….