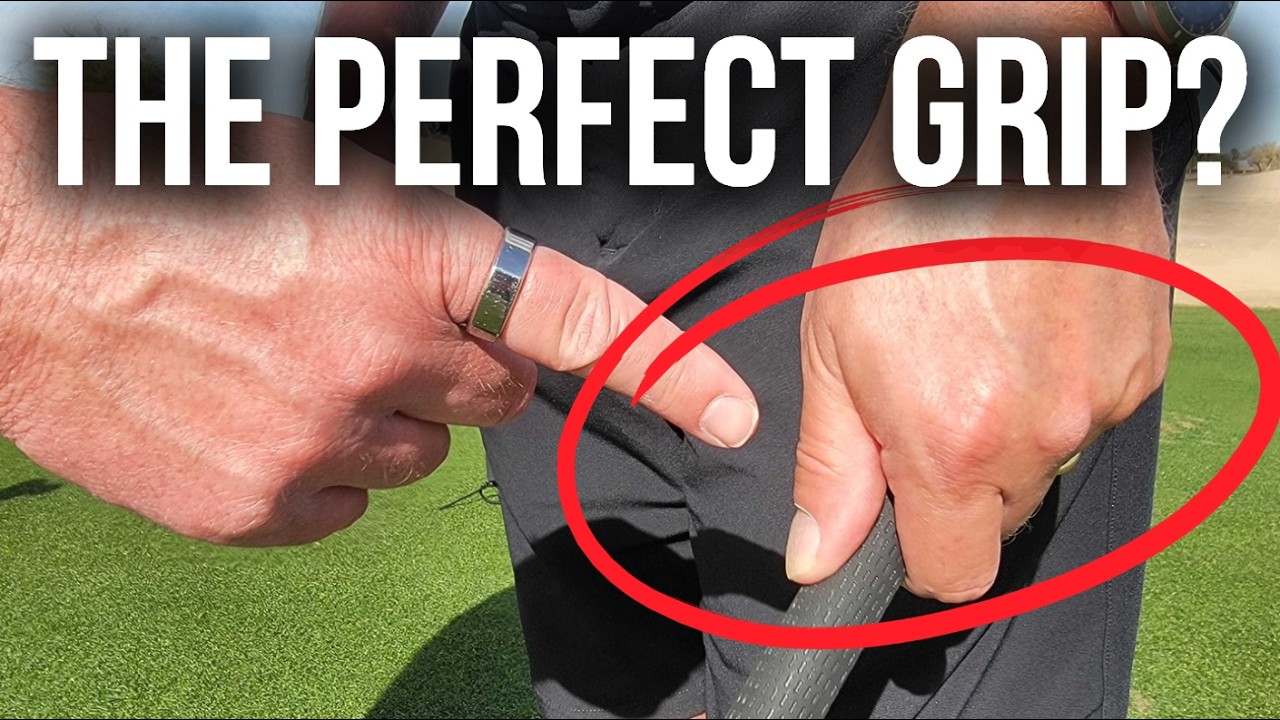
In this video, Todd Kolb shares why he regrets teaching the how to grip the golf club a certain way for years. He introduces a new process, incorporating a Ben Hogan golf secret, emphasizing the importance of letting your arms hang naturally. Learn how to grip a golf club properly to improve your golf swing.
✅ Want more personalized coaching? Join the VLS Coaching Program and start seeing real results: https://www.vlscoaching.com/youtube
📘 Want more tips like this? Get the lost chapter of our best-selling book The Bad Lie—FREE for a limited time: 👉 https://vlsgolf.com/pages/youtube
Strikken – Tiger Gang
W6AQGIBG2QQEZUUT
KBWPCV5WWZU45O5V
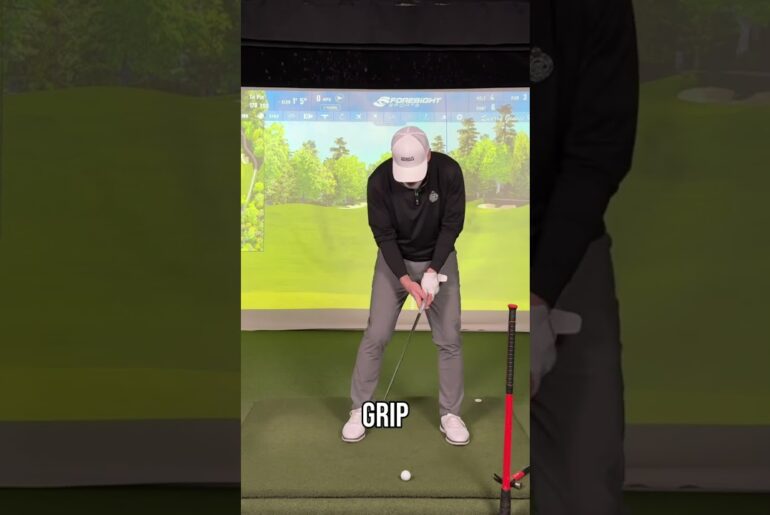
so I taught the grip like this for years and now I regret it because it simply wasn’t working so I developed a new process and I even incorporated a Ben Hogan secret i’m going to show you today what that new process is now how we grip the golf club is really important because it’s the one thing that attaches us to the golf club so the first step in the new process is to just let your arms kind of hang just let them kind of hang naturally and what you’ll notice and the first thing I want you to look for is when you look down at your hand just let them stand here normal relaxed shoulders and let them fall to your side just go ahead and look down at your lead hand and what I want you to be aware of is how many knuckles do you see when you look down as I look down there right now I can see about one to maybe barely two knuckles now some of you your hands might fall like this and you might look down and say “Well geez I Todd I see four.” Some might be more like this if you’re like I I don’t really hardly see any put it in the comments how many actually knuckles do you see when you look down at your hands there now why is that important well because just the way we’re made the way we’re built we all kind of have a little bit of a different fall to our hands so when we go ahead and let our arm fall and we first of all grip the club on the side like this we’re starting from a more natural position so if you go ahead and grip it on the side like this just let your arm hang and I’m just going to go ahead and bring it up front that’s about what I see i see about two knuckles and when I let my hand just kind of fall here that’s about what I see so that’s the first step in the process is just go ahead and let your arms kind of hang let them fall to the side go ahead and grip it naturally bring it up front and you should see about the same number of knuckles that you saw earlier now the next step that I want you to do and this is why I grip the club on the side now and I teach my students this versus up front is when we grip it on the side and you’ll see this from down the line view here if you’re holding the club correctly and you’re holding it maybe down in your fingers you should be able to hinge it a little bit now how and why am I able to do that well when you position I’m going to just kind of move it out front here so my main man Nick Nick can you see this here all right Nick give me a thumbs up make sure you give us a thumbs up and be sure to tell us where you’re from all right we love hearing where you’re from put that in the comments now I’m just going to move it out front here so you can kind of see this but you’re going to do it on the side when we actually do the process but when you grip it make sure that the pad is on the top and notice how I’m kind of holding it down here in my fingers when the pad is on the top and you’re holding it in your fingers you’re going to be able to hinge it very easily now why is that important well one of the ways we create club head speed is to learn to hinge or leverage the club this club is going to start on the ground but somehow it’s got to get up there and one of the ways we do that of course in the vertical line swing is the direction of the lead arm and we talk about this in our book The Bad Lie and all those types of things but the other way is simply hinging it okay the hinging motion raises the club up so let’s go back to the process here we go shoulders relaxed arms on the side i’m going to grip it over here i’m going to make sure that the pad is on the top and I’m going to go ahead and give it a couple hinges and now I know that’s in a good spot next step we’re going to do is we’re just going to bring it up front now why do we bring it up front well because I want to make sure that the club face is nice and square to my target line the easiest way quite honestly to see it is when the club is right up here at eye level i might even close one of my eyes and kind of look at it with my dominant eye and make sure it’s nice and square so here we go relax let’s go through the process i relax the shoulders i grip it on the side i give it one hinge two hinges to make sure I’ve got it in my fingers and the pad on top bring it up front make sure that the club face is nice and square then I’m just going to go ahead and add my trail hand in now as you add your trail hand in what you’re going to simply do see how I’m doing this i just kind of slide right on the golf club my palm just faces the target simple and I kind of grip it down here in the fingers you can overlap you can interlock you can 10 finger there’s a lot of different ways to do that underneath here and we’ll talk about that in different videos we cover some of that but for today’s purposes in the process boom right there so let me go through it from beginning to end and then we’re going to talk about the Ben Hogan tip so on the side relaxed shoulders pad on top one two bring it up front oh club face looks nice and square trail hand comes in hold it in the fingers palm facing the target i am locked and ready to go the Ben Hogan secret has to do with the thumb when we grip the golf club we can have what we call a long thumb see that see how my thumb is long or I can have a short thumb long short see the difference right there what do you want you want a short thumb the short thumb is best when we have a long thumb a couple things happen when the thumb is long number one is it kicks the club more up into the palm we don’t want that cuz we can’t hinge it remember how we got to get it up there number two is when we get to the top if we have a long thumb the club tends to drop and get loose at the top and almost kind of fall out of our grasp or out of our fingers so when we grip it over here I want you to make sure that the I’ll go ahead and do it out front so Nick can see it i’m going to go ahead and make sure that that thumb is short and when it’s short that’s going to allow me to hinge it and get it correctly now that you understand the new process and how to grip the golf club check out my next video and if you want to personally work with us on your golf game check out vlscoaching.com


12 Comments
Harrison City PA
I see 2 Knuckles. I’ve used this method before. It works. Thanks
MIne is ONE and I for the last 4 decades always used the OLD SAGE ADVICE…which was TWO…… fancied around with it…and wouldn't you know…and this is probably like THE HONEYMOON effect…it LOOKS and feels MORE SQUARE at address…LOVE YOUR CHANNEL always… thanks for the LAYMAN's tutorial as well. :)) STAY SAFE!!!!
Thank you for the quick clinic. New Hampshire
Las Vegas, NV- I see 2 knuckles
I see 2. Love you videos! Bill from Chicagoland.
2.5 knuckles
2 knuckles
Greetings from the PNW. I see two knuckles. Great content!
Two
Hard to see, but it appears your "short" left thumb is "centered" on the shaft. I thought most advise the thumb be placed slightly right of center, say one-o'clock. Can you clarify what your preference is for the placement? TY
Kentwood Michigan here. Thanks I’m gonna try that this weekend!