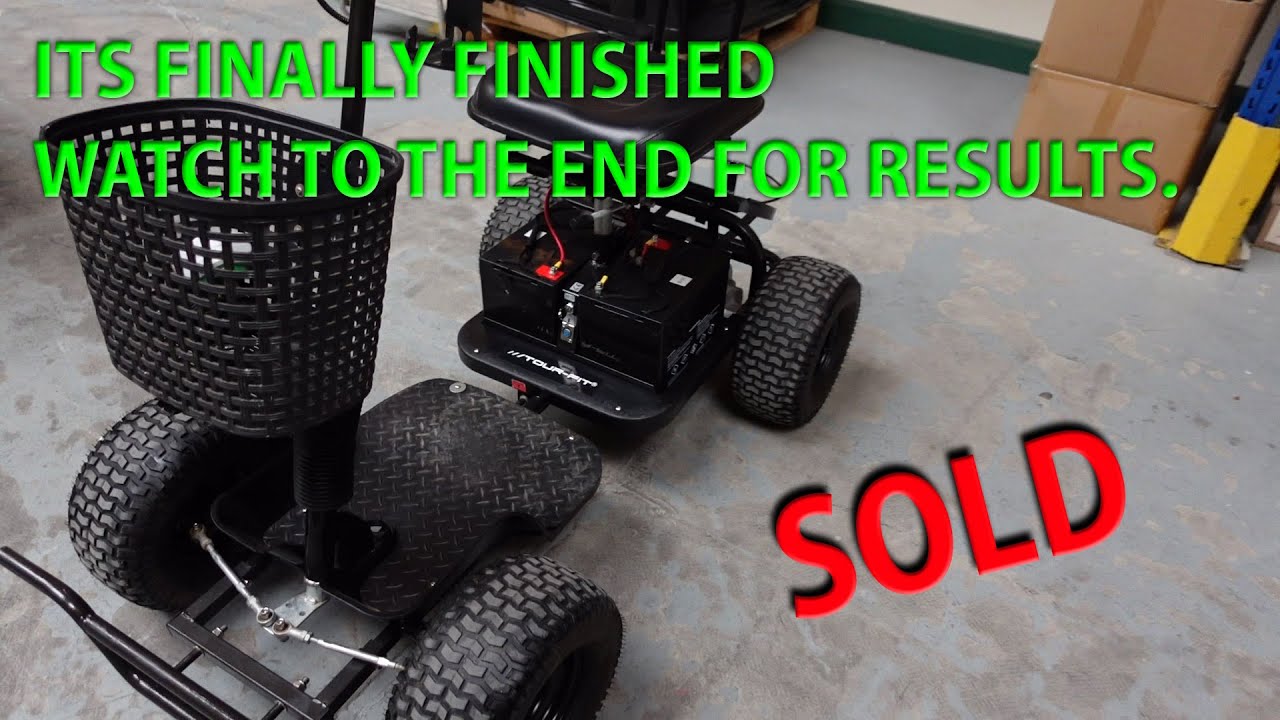
“🛠️ Golf Buggy Restoration Part 5 – Reassembly & Tour Fit Upgrades Tutorial!
Welcome back to the next phase of our exhilarating golf buggy restoration journey! In this highly anticipated installment, we delve deep into the intricate process of reassembling our single-seat golf buggy, transforming it from a collection of parts into a fully functional vehicle once again.
Join us as we meticulously piece together each component, sharing invaluable tips and techniques garnered from our extensive restoration experience. From aligning chassis to fitting electrical systems, this comprehensive guide ensures no detail is overlooked in bringing your buggy back to life.
But that’s not all! We’re thrilled to introduce you to the Tour Fit Golf Range, designed to elevate your game to new heights. Follow along as we demonstrate the seamless installation of the Tour Fit universal golf trolley controller, unlocking enhanced performance and control on the course.
Discover the latest offerings in our Tour Fit Golf Range, from premium grips to high-performance club shafts, head covers, and more, tailored to optimize your gameplay. Prepare for all conditions with our winter gear selection, including golf gloves, mitts, and wool hats, ensuring you’re ready to conquer every round.
We value your input and invite you to share your thoughts and suggestions for future projects and product innovations. Your feedback drives our passion for excellence and fuels our commitment to delivering top-notch golf equipment and accessories.
Sit back, relax, and immerse yourself in the restoration journey while enjoying the captivating tunes provided by Bensound. And don’t forget to visit our website at www.theonlinegolfstore.co.uk for all your golfing needs, from restoration essentials to the latest gear and accessories. Join us as we revitalize golfing experiences, one restoration at a time!”
🎵 Music Credits: https://www.bensound.com
License code: IPW2BBE0XJL7B19G
🌐 Visit Our Website: www.theonlinegolfstore.co.uk
So back again today um in this part of the rebuild series we’re going to do the front frame uh it’s basically a reassembly job we have it all painted we have it all in sections we’re going to get it on the bench step by step build
Through the front frame and get it ready uh but just time lapse through that quickly and then we will complete the buggy by the end of this um and hopefully if there’s any questions or there’s any bits of this that you need more explanation on uh get thought in
The comments below and we’ll be able to to reply to what you need let’s get cool I like to set all the parts out on the bench here is a lithium grease then put on all the nuts and bolts when I rebuild a bugy uh so we get all the
Pieces set out uh into place and then start to go ahead and bolt it together nothing Getting this bolt with the spring in is a real pen um I’ve tried a couple of different ways to to make it life a bit easier um I actually got the spring in the WR place there the spring goes in between the two tooth sections and then
The bolt comes through to catch a knot on the other side just a bit of trial and error uh to get your way through it so what we’ve done here is we’ve greased the the bolt for the axle greased these uh swivel joints it’s a bit of a job to connect
The spring has to go on the inside of the two connections and the bolt on the outside War Loom cable tied down the frame uh this Frame was freshly painted in the previous section and then you L enough length for that to connect to the
Back frame I like to put this in and cable tight this in before I put the the plastic back on and so we’ll put that on the eye and uh the two front wheels grease these up and that’s the front frame then it’s going to be more less finished so keep going with
[Applause] that I use these Penny washers to screw down the rubber mat because the rubber M pulls through the small screw head really easily um so just give it a b bit more support I’m You so that’s the front part of the frame now rebuilt uh We’ve torqued the torqued the wheel nuts up and we’re going to get three more of these just for these other three bolts and the rest of the frame is all ready to go handle’s complete you can see just in there
That’s great great job uh we’ll grease this we’ll grease this Center section cuz the two sections have to go together and uh bring it together get the batteries time and get this get this finished off so that’s it for this one we hope you like the quick video of the
Restoration we have ordered some new B guards for the buggy but they haven’t arrived if this is a sort of video you like to see subscribe to the channel and leave us a comment if there’s something more detailed that you want to see about these sorts of projects maybe it’s a
Full rewire in detail or a motor strip down and but we hope you like it and we’ll see you again soon


