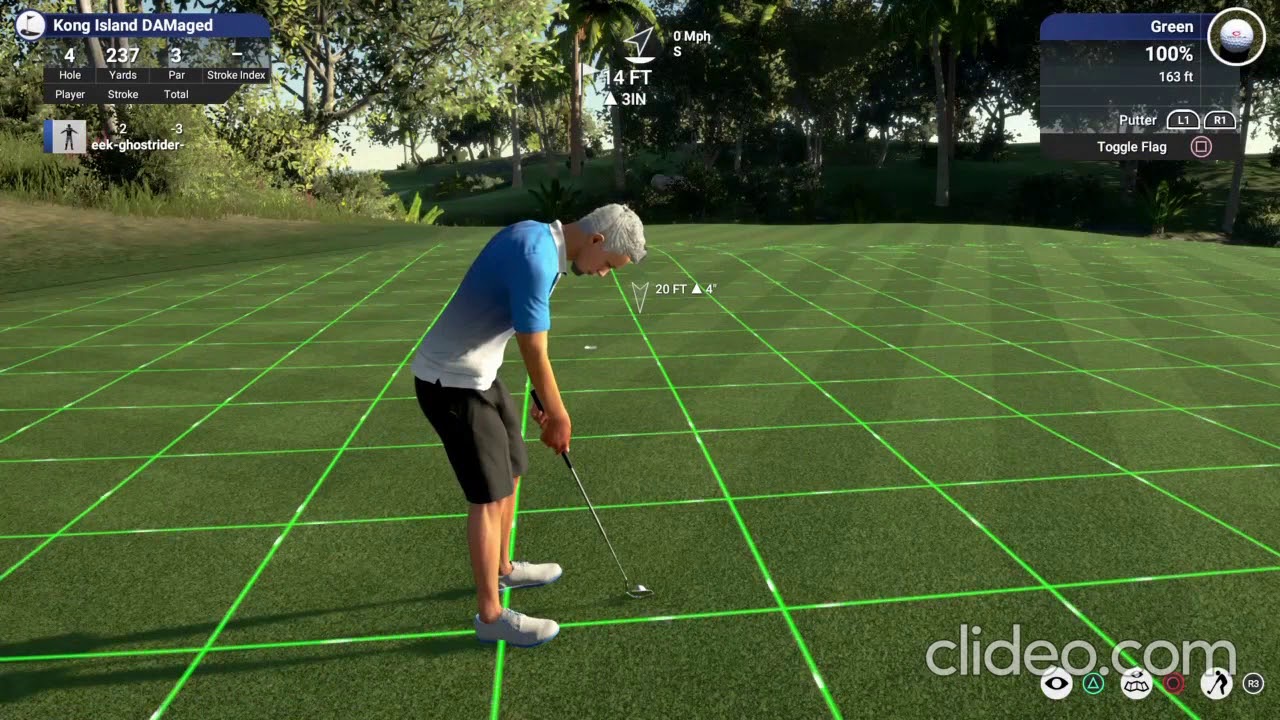
Below is copy and pasted from the original link found here: Scroll down to the last post on page 1.
******Listen to the speed of my counts, as they are Fast Counts*****
Take a 16F, 2in down putt. You double the downhill, so it would be 16 + 4 = 20F adjusted. If it was 16F, 4in up, then you simply subtract 16 – 4 = 12F adjusted (uphills don’t get doubled). You then take the adjusted distance and multiply it by the speed of the dots (beads) and arrive at an aim point. So obviously, when you hit the ball softer, the break increases, and likewise, hitting the ball firmer decreases total break.
Aim points would be, center mass hole is Zero. The very edge of the hole is .6 aim point. 1/2 cup outside the edge is 1.2 aim point. In between the hole and the 1st vertical grid line would be 5 aim point. Between the hole and 5 aim point would be 2.5 aim point. Between 5 Take a 16F, 2in down putt. You double the downhill, so it would be 16 + 4 = 20F adjusted. If it was 16F, 4in up, then you simply subtract 16 – 4 = 12F adjusted (uphills don’t get doubled). You then take the adjusted distance and multiply it by the speed of the dots (beads) and arrive at an aim point. So obviously, when you hit the ball softer, the break increases, and likewise, hitting the ball firmer decreases total break.
Aim points would be, center mass hole is Zero. The very edge of the hole is .6 aim point. 1/2 cup outside the edge is 1.2 aim point. In between the hole and the 1st vertical grid line would be 5 aim point. Between the hole and 5 aim point would be 2.5 aim point. Between 5 and the 1st grid line is 7.5 aim point. The 1st vertical grid line would be 10 aim point. In between the 1st vertical grid (10) and the next vertical grid would be 20 aim point. The 2nd vertical grid line is 30 aim point, so on and so forth. Basically, the distance between each vertical grid line is always 20 total points of aim, which you then divide into the appropriate distances.
Approximate dot speeds and flow %:
– 1.5s = 1.2x
– 1.8s = 1.0x
– 2.0s = .9x
– 2.5s = .8x
– 3.0s = .7x
– 3.5s = .6x
– 4.0s = .5x
– 5.0s = .4x
– 6.0s = .3x
– 7.0s = .2x
Two complete examples would be: 22F, 8in uphill= 22F-8= 14F adjusted. The speed of the dots averages out to a 3 second count (start counting when the dots are at center hole), or .7x multiplier. So we’re left with 14F*.7= A 10 aim point, or the 1st vertical grid line.
2nd example would be: 15F, 5in down= 15F+10= 25F adjusted. The speed of the dots averages out to a 4 second count, or .5x multiplier. So we’re left with 25F*.5= A 12.5 aim point, or just beyond the 1st vertical grid + 1 cup distance.
My base formula is on 163 green speed. On 170s you add +6% to all breaks, 180s + 13%, 150s -6%, 140s -12%. By the time you get to 119s, you’re closing in on around -40% (it doesn’t quite scale perfectly). Distance control more or less corresponds and parallels, break increase and decreases. But of course, not all 160s, 150s, 170s, or ANY green speed always acts the same. Certain green splines change the characteristics and behavior of the actual green speed, and or break. Sometimes 160s break like 180s but retain their same distance speed (Nomad comes to mind). You pick up on the subtle nuances for each course/greens after a few holes or so.
Green speeds of 155/165, when facing downhill putts of 1in to 4in, simply subtract the DH elevation from total length of your putt. 170/180s, for DH putts of 1in to 4in, simply subtract the elevation and then subtract an additional 1foot (possibly up to 2F on 180s with 3i/4in). Any putts more than 4in downhill scale more, meaning you need to subtract more for each green speed.


