Watch me swap the shafts on a set of Callaway Apex Irons !
Right how we getting on Happy New Year um so back in the workshop um had a busy time over Christmas um so I thought I’d just start this year and put a little bit more um stuff out to help you if you feel like you ever want to do any
Repairs at home but obviously it’s easier if you give it to an expert um so I’ve got a set of um Apex Pro irons and some wedges and we’re swapping over the shop so I’ve already taken the old ones out um when you have pulled shs you have to
Prep the new ones so there were was glue in the end you have to drill it out I have to Reg grind the tip put new ferals on so I’ve done all of that um and they’re ready to be glued so I’ve got uh nine irons to
Do ready to go um I’ll just mix some glue so I’m using um a glue which is about an hour I’ve got to get them finished today um I always said if you lose glue that sets longer it’s better for higher ball speeds um these
Are their NS Pros St so they’ll be all right with an hour I think if they were extra stiff I’d leave them overnight so we’re going to get some glue out sorry about my voice I lost my voice over the weekend still not feeling 100% so I’m now going to mix the glue
Um it’s not overly cold in here today so it’s 15 on my temperature but I like to sort of heat up the glue a little bit I just got a little air heater and I just sort of heat the glue up while I mix it
Just feel like it helps it get off to a better start so I’m just mixing it together glass beads I put quite a bit in there because I’ve got a whole set um I’ll probably have to remix some more glue but we’ll see so glass beads will helping Center
The shars um and I think it helps them set a little bit faster so I’m just giving it a good mix it’s quite a lot of glue here but like I said I am doing a whole set so probably a good minute I’ve been mixing that so that’s good that’s all
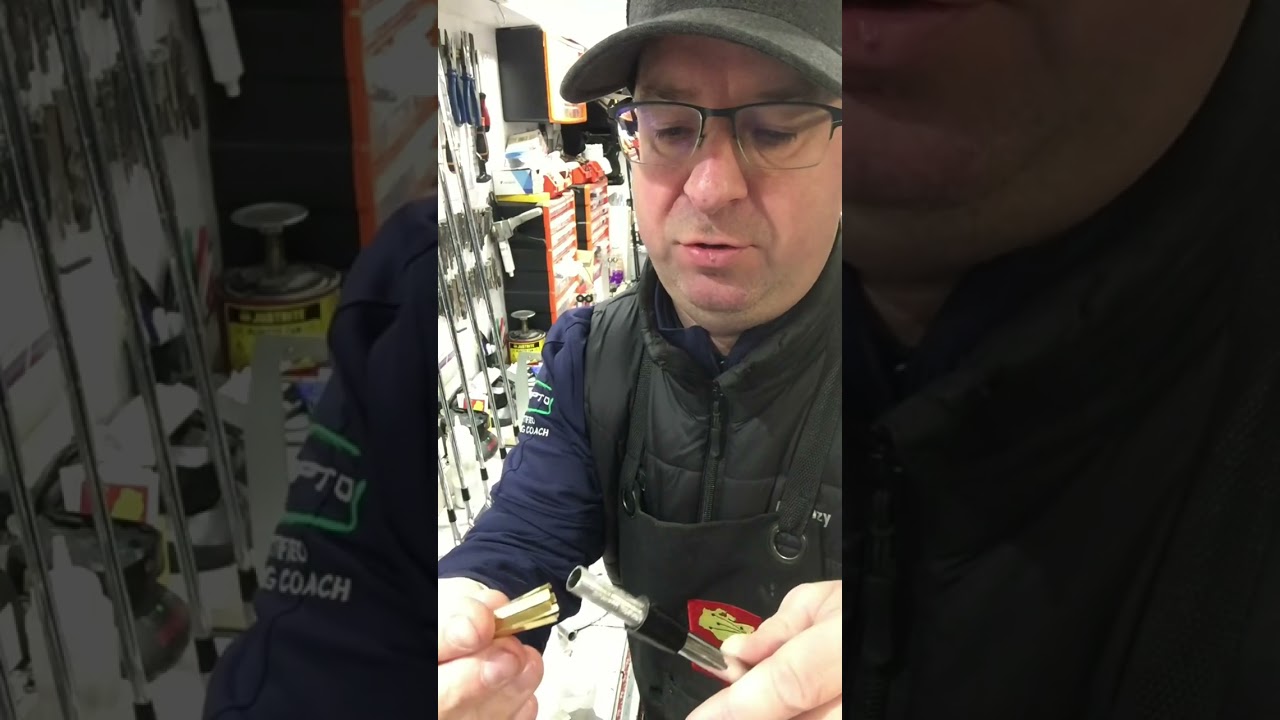
Ready to go sorry cap T might lose my voice doing this okay so I got the five ir and it’s a little bit of play because um it’s a parallel huzzle and a taper shaft I’ve tested it already it’s not quite enough for a shim so a shim
Is one of these hang on got two Stu together here there we go right so this is a shim and what that would do that would go over the shaft and then go on yeah but it’s not quite enough on this so so I learned a long time ago I’m now going to
Use bit fishing wire on the end okay so I’m going to put a couple of bits it’s going to be like a crisscross at the end and then it’ll be really really tight as I put it in it’s not quite enough for a shim so I need to have something in
There so fishing wi is good problem of this is you put it down and you lose where you’ve put it so I’m do two bits just over an inch Long so i’ got two bits just over an inch long put that somewhere I won’t want to lose them sorry the work time on this glue is probably about half an hour so I’ve got a bit of time to make sure I get everything in place so remember
With glue less is more okay so I’m going to put a little bit in into the huzzle should still be able to see the bottom so it’s just around the edges it’s not filled up and put a little bit on the end of the shaft so tiny bit on the End and with that on the end I’ve now got enough so I can place one two oh there we go that’s why we have a spare Bit there we go we put a second bit on it just didn’t stick there we go so you can see that couple of bits on try and get them as Center as possible when you get your Club head and you pop that on and that’s pretty tight all the way
In okay wipe the excess off I’m not spine a lining these so the writing goes on the back so make sure that’s all lined up give it a tap just checking it so that’s all lined up out the back give it a tap give it another wipe and that is seriously firm there’s
No wiggle Rim in that at all that is on there with the shating beads it’s a really good fit pop out there now let do the others right I’ll fast forward this bit right okay so that’s sorry another cup of tea that’s six irons done so that’s the
Five to the pitching wedge so I’m now on to the wedges got gap wedge sand iron and an lob wedge um so these are okay to have shims so like I said this is a taper shaft into a parallel huzzle so parallel is exactly what they are
Parallel so they’re three 370 of an inch and taper 355 of an inch so there’s a little bit of a gap at the bottom so what this does is we put that on there um it’s one of those things you can’t get said a minute I’m trying to get you
Got all these little spikes you got to try and get the shaft in the middle see how like one keeps them going down there we go St all the way around now okay um I can now push it in and I don’t need the fishing wire that’s a
Shim that I do it so I’ll pop the old glue in glue in and now take it off and put some glue around the end so glues around the end pop the shim over there we go so it’s all the way around I put a little bit of glue on the outside
Just just for good measure so a tiny bit of glue on that and now that will go on you can hear a bit of a pop which means it’s a good seal line up the shaft give it a tap wipe your access clear off so wiping the glue
Off and there we go I’m going to do the other two wedges now all right and there we go so that’s all night in irste we got the wedges through to the fire Vine uh all done ready I’ll leave it an hour and I can um put the grips on
And uh prep the Fels and there we go how we going on fashionable I know but you can’t can’t you can’t um going to be safe of your eyes you only get two of them right okay so um heads are all glued um I’ve now got the specs um they are all standard
Length so I’m going to cut them I cut 1/8 and uh to get the grip size on um so I’ve marked them all up and um I’m going start cutting them so here we go right and here we go so that’s the little cut down to the
Wedges ready to put the grips on we going to put two layers of tape on them right okay so time to put the grip on so we put the golf club in the grip station and measure I do from I’m putting two layers on so I’m going to go
From the top and I put a line so by the time the grip stretched it’ll be on perfectly I use Brown fing tape just really smooth cut off excess put that around got another one don’t put it in the same place otherwise you’ll get a ridge so I move it around a little
Bit and then that’s two layers and then we got the grip tape again don’t put it in the same place put it around so you don’t get any ridges put that on see it up the end pop the grip on there just all lined up give it a tap wi off
EXs and check that everything’s lined up with your line and good and there we go on to the next one right I now got to turn down the feral so it’s a little bit of a a lip so I have to turn down the feral I’m going use a belt for this
Okay so that’s all done now nice and flush to the huzzle and just going to use acetone to make that all nice and shiny so I’m going to do the other clubs now and I’ll show you the acetone right so now the ferals are turned down
I need to shine them up so I put a cotton pad on the on here put some acetone on it and you got the golf club you give it a 12l and now it’s all shiny there we go all right so there we go it’s G through
The cleaner nice and clean FS nice and shiny job done


