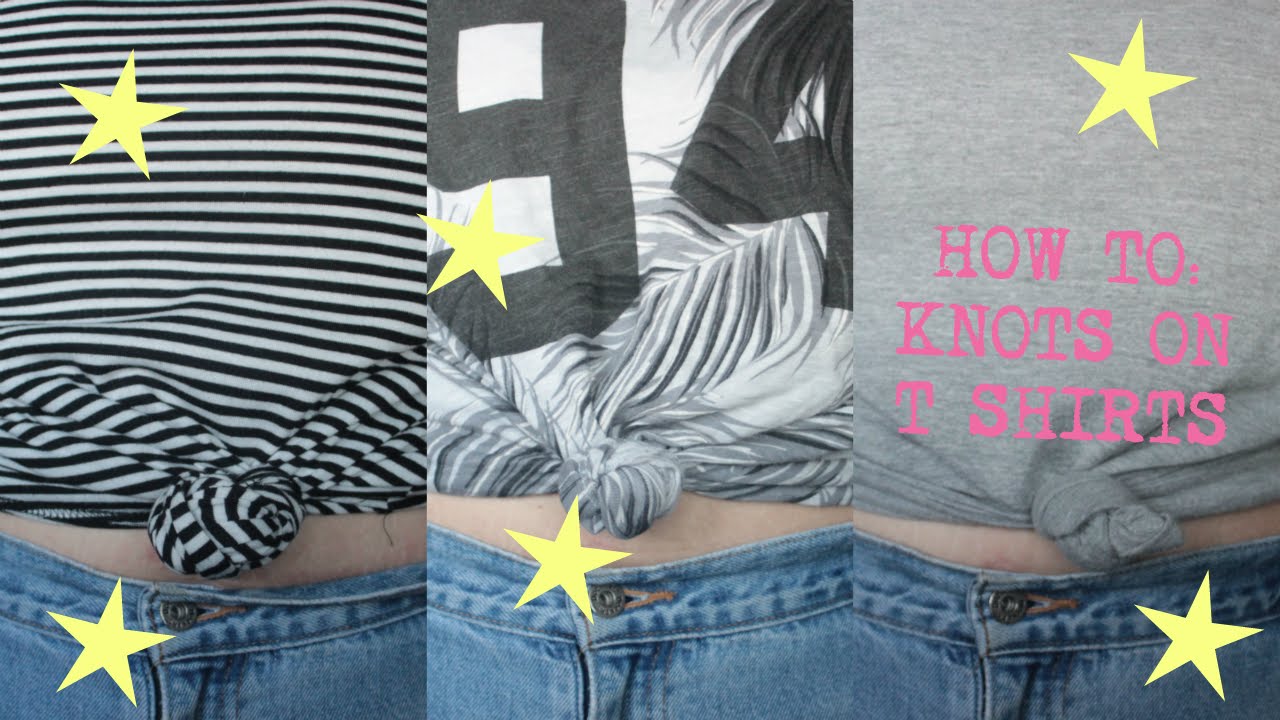
Hi! I’ve been asked to do a little tutorial on how I tie my knots on my t shirts so that’s what I decided to do. I also was asked to do captions so I typed them up and they are below.
Lots of love, PA 🙂
twitter: @paxyshia
tumblr: closetofpa.tumblr.com OR beautyfam.tumblr.com
facebook: facebook.com/closetofpa
[CAPTIONS]
Hi! Today I have a tutorial on how I tie knots on my shirts. I’ve been getting a lot of questions about it and I know that it can be frustrating especially if you don’t know where to start or if you’ve never done it before so I’m gonna show you guys. I think it’s a great way to kind of just spruce up your outfit especially if you feel it’s a little boring because it kind of just gives you a little edge and it’s a little different. So I hope you guys enjoy this and let me know what you guys think.
Okay, so here with a t shirt dress, you can see how long it is. My pants are covered by it right here and what I’m gonna do is bring it all the way up and I’m just gonna gather as much fabric as I can all the way from the back and bring it all the way to the front. And right above my pants, and I’m gonna take it- this is all you’re gonna have to use for the knot. It’s pretty long, usually shirts aren’t this generous. This is a dress so a lot more fabric. And what I do is I’m gonna hold it and take my two fingers here, wrap it around the fingers and I’m gonna bring this, and tuck it in right here. And I’m gonna move my fingers but keep that hole open then I pull it through here and then I tighten it up like that. You can also tighten it up this way although that does move a little bit but tighten it up there too. And if you like with the extra sticking out, you can. Otherwise, you can tuck it in. That’s what I’m gonna do, right back into the knot. And it’s usually pretty tight. And there you go.
Here’s the second top I’m showing you guys. It’s a little more oversized and it’s a lot thinner than my t shirt dress was. So, I’m basically gonna be doing the same thing but here’s the difference: With an oversized top and a thinner top, you can see that it’s a lot easier. So here’s all the fabric again, wrap it around the two fingers, and in. And you do have extra sometimes but with these, I just like to loosen them up a little bit more and pull it out like that so it’ll just sit better like this. And again with this, you can tuck it back in if you want. And there you have it.
Here’s the third shirt. It’s just a regular crew fitting t shirt and because it’s more fitting, it’s going to be a little harder to do but you’re gonna wanna gather as much as you can here. And here, you can obviously see it’s not as much as the other ones and it’s a lot tighter. And what I usually try to do is get it as close and fitting as I can here and I’m just gonna do the same thing. And because it is a little thicker fabric, you’re gonna probably have a harder time tying it into a knot but it’s always possible. So, here I am. I’m gonna slip it in and go like that. And usually I find that with more fitting t shirts that you don’t need to loosen it as much and that they’re not gonna have the little thing sticking out at the end but there you have it, there’s your third one.
I hope that was a helpful tutorial and if you guys did like it, please make sure to like and subscribe and comment and all that junk. And hopefully I will be making videos more regularly. If you guys have any suggestions on what I should do next for my next video, please let me know in the comments.
Alright, well thank you guys for watching and I will see you guys next time! Bye!
[BLOOPERS]
Hi everyone… hi everybody… hi
So, yeah….
*blows raspberry* Ummmm
*sticks out tongue* Ahhhh
I don’t have a word for it!
Wow, okay…. Take three!
*makes little whistling noises*
*groans* I am hopeless.
Uhhh… What is it…
*looks around in confusion*
Wow, um, okay….
Ahhhhh! *laughs*


