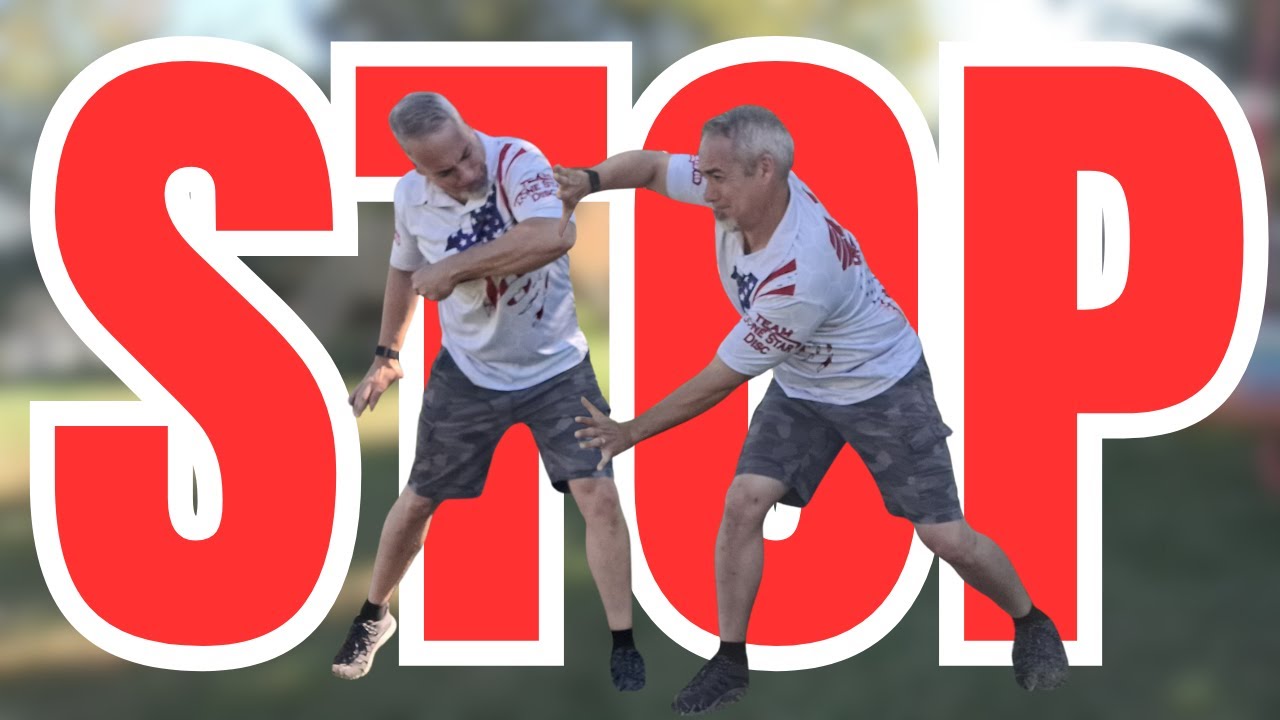
How do we generate the most power in our bracing?
Daily Form Reviews with me: https://overthrowdiscgolf.com/coaches/bunky-smith
Full OverThrow offerings: https://overthrowdiscgolf.com
Want to get stronger at putting? Go get a D-Clip! 10% off!
The Original D'CLIP
Improve putting accuracy with Putting Confidently!
https://www.puttconfidently.com?sca_ref=5921736.1nsMNd8Oly
Use code – DISCSMD
Lone Star Discs – https://lonstardiscs.com
Use code marcsmith for 10% off!
Join the Power Disc Golf Academy!
https://powerdga.com
Want Awesome Disc Golf Apparel! Salty Unicorn DG Apparel is where to go!
https://saltyunicornsdg.company.site/products/?aff=69
Join Us in Facebook!
https://www.facebook.com/profile.php?id=100092249472649
Open – 0:00
Admin – 0:21
Background – 0:38
Snapping the Towel – 1:52
Pro Form Analysis – 5:10
Drill #1 – 8:20
Drill #2 – 12:17
Get Coaching – 14:34
#dg #disc #discgolf #discgolfer #discgolflife #discgolfing #discgolfeveryday #discgolfdaily #disgolfshootouts #discgolfshoutouts #golfaddict #frisbee #frisbeegolf #discgolflove #lonestar #lonestardiscs #teamlonestardisc #disclife #pdga #powerdga #powersdgacademy #discsmd #enjoythejourney #growthesport #growthegame #discgolfphotos #discgolfcourse #discgolfnation #discgolfislife #holeinone #pdga #putt #PAdiscgolf #throwingdiscs #playingdiscgolf #discgolfaddict #lonestarlieutenant #lieutenantteam #discsmd #discs #forehand #snap #frictiongloves #dclip
Sometimes in order to drive faster, you got to learn to use your brakes. Confused? Let’s try to clear it up. Spin it. [Music] [Applause] Hey DMD family, welcome back to the channel. Bunky here. And if you’re interested, affiliate links are in the description below. Salty Unicorn jerseys, Lonear discs, Dclipip, putting confidently, friction gloves, they’re all down there. Just passing savings along to you. Let’s get right into the content. Today, we’re going to talk about bracing. And I’ve talked about this a lot in the past, but as I teach, coach, as I learn new information, I start looking at things differently. I start tweaking the way I approach different aspects of the throw. So, as I do that, I like to update my content and pass along what I’m learning to you. So, when we think about bracing, what is the first thought that comes to all of our minds? Stopping forward momentum, right? Bracing is jamming this front foot into the ground and stopping our forward momentum. But there is other forces, there are other forces at work other than forward momentum. The biggest one is rotational momentum. And I know we all know about rotational momentum. It’s part of the throw. But do we realize we also have to brace against that as well? How do we do that? We know that forward momentum is easy. Jam the foot into the ground, stop forward momentum. But how is it that we stop rotational momentum? And why is it that we want to stop rotational momentum? We’ve all seen the object lesson of snapping a towel in relation to a discoff throw. And I think it’s very appropriate to liken snapping a towel to the disc off throw because we’re trying to do the same thing, right? In a disc golf throw, what do we want to do? We want to generate energy with our body and transfer it into a disc in the form of speed and power. And how do we do that? Well, we generate momentum forward rotational and then we stop it in a sequence of events to allow that energy energy to travel up through our body, through our shoulders, out our arm, and then finally into the disc, hurling it away from us as fast as humanly possible. That’s the same thing that we’re doing when we’re trying to snap a towel. We’re taking momentum energy generated by our arm and our hand and sending it through the towel to the end causing a snap at the end. How do we most effectively get the loudest snap? Do we get it by simply stopping the momentum of the towel? Well, let’s try that. There you go. I just stopped the momentum of the towel. Did we hear a snap? No. Why is that? Because there’s something else that has to be introduced to that in order to most effectively maximize the transfer of energy from one end of the towel to the other. And if you’ve ever snapped a towel before, if you know how to snap a towel, you know what I’m talking about. We can’t just simply stop the momentum of the towel. We have to resist the momentum of the towel. And in snapping a towel, the most effective way to get the snap is to pull back on the towel. Apparently, I’m not very good at snapping towels, but we need to pull back against the momentum. I think that is something that’s missing in our throws in disc golf. And quite frankly, if we’re going to compare a lot of our throws to snapping a towel, this is what it would look like. Now, I know that’s kind of harsh and maybe a little extreme, but it’s not completely inaccurate. A lot of us don’t even try to stop the momentum at all. We just get forward and spin and that’s it. But more than just stopping the momentum, again, we have to resist the momentum. almost come become anti-rotational at the very end of our throw in order to maximize the energy transfer through our body into the disc. And I believe the pros do this in a very intentional way. And the reason that I say that is because I’ve been studying two different people over the past month or so to see how they address what I’m talking about right now. So, let’s look at the forms of two of the biggest throwers in the game, I think. AB and Albert Tom. AB, of course, on the left, Albert Tom on the right. And specifically, I want to pay attention to their back arm and their back leg. So, let’s take a look at AB first. His back hand is right here. So, let’s watch his back arm movement through his throw. brings his arm straight down and then pins the back arm back behind his body. Essentially locking this shoulder in place. An anti-rotational movement. Like he’s not just bringing it down, he’s bringing it down and back against the rotation, decelerating those shoulders as much as possible to transfer the energy up and out into the disc. Albert Tom on the right, same kind of thing. He doesn’t do it as drastic as AB, but you can see his arm is out in front of him at this point, right? He is looking his body is directly in front or his arm is directly in front of his body. Now watch what he does as he brings it down. He brings that arm down and back against his body and pins it to his frame. Essentially doing the same exact thing as AB and stopping that shoulder rotation. Once again, transferring the energy from his body up into his arm. Now, let’s watch the back leg of each AB first cuz AB is a little more drastic in both of these movements. So, AB’s back leg, watch how it stays put the entire throw. Barely comes off the ground right about here. Notice the first movement that his foot makes. Where does it go? It doesn’t just go up. It goes up and back. Anti- rotational. He is rotating this way with his foot. And his foot barely ever gets off the ground the entire way through his throw. It’s still in contact with the ground there. and doesn’t come up until the very end after he has followed through pretty much completely. Let’s look at Albert Tom. Same picture, a little less drastic because his foot does come off the ground right about here. But again, look at what his foot does when it comes off the ground. It goes back that way. Watch it again. Anti-rotational, slowing his hips down. Again, transferring the energy up through his body and into the arm. Well, there you have it. That’s what we’re going to talk about for the rest of the video. And I’m going to term it backside bracing. The back arm and the back leg. And I have a drill for each to help us learn how to resist momentum at the end of our throw with both of those aspects of our throw. First, the back arm. Now, we talked about the back arm before. We talked about knowing where it is in our throw. I am going to use a small weight. This is 2 lbs. Uh, please do not use a 10 lb weight. Do not use a lot of weight. I just like to feel something in my hand. Uh, you know, in the past I’ve said use a baseball, use a softball, use a rosin bag. It just connects your mind to your hand better to have spatial awareness of where your hand is. But more than that, in this drill, I want to feel the downward motion of my hand to get it where I want it to be. And the best way that I found to do that is to hold something a little heavier in my hand. So, I’m going to use this weight. Going to have my disc, have my net set up right there. Again, this is a progression. Stand still, Xstep, full throw is the progression. And all I’m trying to do is teach my back arm what to do during my throw. To begin with, we want to make sure that when we bring the disc back, we’re bringing our back arm with it. And when we separate from the disc, we keep this arm from flying into oblivion, right? We want to keep it controlled. You’ll see that AB and Albert Tom keep it rather close. And then from here, we want to use this to decelerate our rotation as we go. Like Albert Tom and AB. AB brings it down and pins it behind him. Albert Tom brings it down and back against his leg. Either one of those is fine. All we want to do is use this to slow our shoulder rotation down. And I like to use my back leg as sort of the physical sign that that’s what I’m doing. Right. Bring my hand back down against my back leg. So I am going to bring it down behind my back leg to really exaggerate the motion. And I am a big fan of exaggerating movement when I’m learning it so that when I get onto the course, my body knows what I’m supposed to be doing and the movement becomes less drastic. So, stand still, get in my stance, have both hands on the disc, go into my back swing, bring my hand, separate it from the disc, keep it close to my head, and then when I come through, I’m going to go straight down and behind my back leg. And it looks something like this. Very simple. This is going to just take a lot of repetition to make it muscle memory to put it in our habitual movement patterns. The next step in the sequence is always the Xstep. So, it’s a short Xstep and make sure we’re coming down behind. And because of the weight, I can feel exactly what my hand’s doing back there and where it’s going. And then we just go into the full walk up. Now, we’re not throwing these hard. This is not full speed. This is just us learning the movement pattern of keeping our back arm close to us and pinning it against the backside to decelerate the shoulder. So, that’s the progression for the back arm. So, what are we doing for the back leg? This is a drill that I did when I first started getting coached by Josh. It’s a simple drill, but hard to do, if that makes sense. And I don’t do it as a standstill just because I typically don’t have a problem with over rotation in standstills. I use standstills for very particular training. So, I start the progression, it’s just a stu two-step progression. I start the progression with the Xstep. And all I’m trying to do is pin this back foot to the ground and not let it come up into the air. So, it looks something like this. Okay. Using this to help decelerate the hips, using my arm to decelerate the shoulders and transfer all that energy up into the arm through the hand and catapulting the disc forward. And then I’ll do a full throw with keeping my foot on the ground. Don’t let it come up. Keep it back there. Backside bracing again. This is just a lot of repetition to get the body used to what it feel like feels like to use the backside of your body to decelerate the throw at the end. Now, I understand we don’t want to intentionally pin our foot to the ground during a normal throw. This is just a drill to get our minds connected to the movement patterns that we want to emulate on the course and using this back side to decelerate the hip and the shoulder rotation in order to transfer the energy into the disc. Well, that’s all I have for you today. Those are the two drills and some tips that I have for backside bracing to decelerate rotation and maximize energy into the disc for more speed and distance. I hope it helped. I hopeed it was interesting. I hope it’s useful and I hope it’s something that you can incorporate into your practice routine and into your throw. But if you are having issues seeing types of things like this in your throw or feeling them or how to incorporate these types of things or even these types of drills, we do have coaches at Overthrow. Link is in the description below. We would love for you to come check us out. We have five different coaches, all levels of skill. Uh we’re all very enthusiastic about the game and ready and willing to help you improve your game. So, we would love it for you to come and take a look at Overthrow Coaching. Well, thanks as always for your support and for watching. It means a lot to me that people pay attention to what I have to say. It just baffles my mind sometimes. But I hope I’m bringing you value. And if I am, please subscribe. Please click the thumbs up and I will continue making content. But until next time, enjoy the journey. Here’s your burst of the day. Heat. Heat. N. [Music] Heat. Heat.


2 Comments
Thank you for this! I’ve had people comment that I drag my back foot and am losing power. Is that true, or am I pinning the back side appropriately? I am probably missing counter rotation, right?
Call it a brace but to me "imo" it is a brake not a brace. I do stand still only so I am interested in just pinning my backhand behind me. It may give me a more consistent release for hitting lines instead of over rotating.