I’ve Built Both Golf Sim Setups — Here’s What Beginners Need to Know
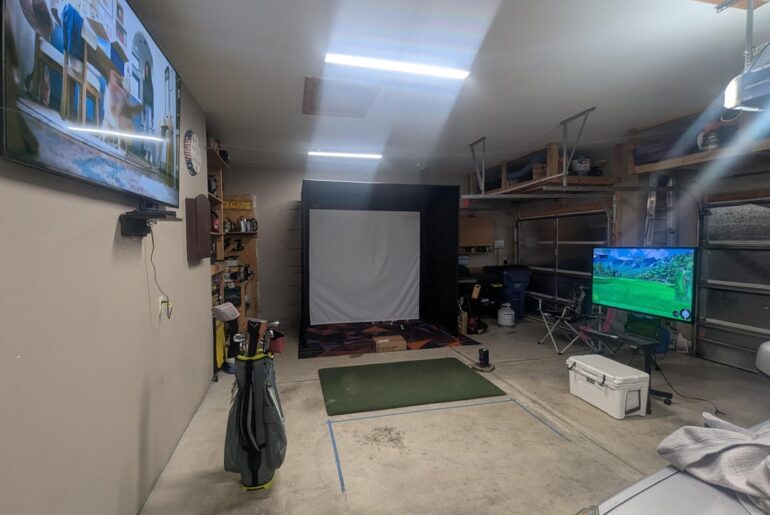
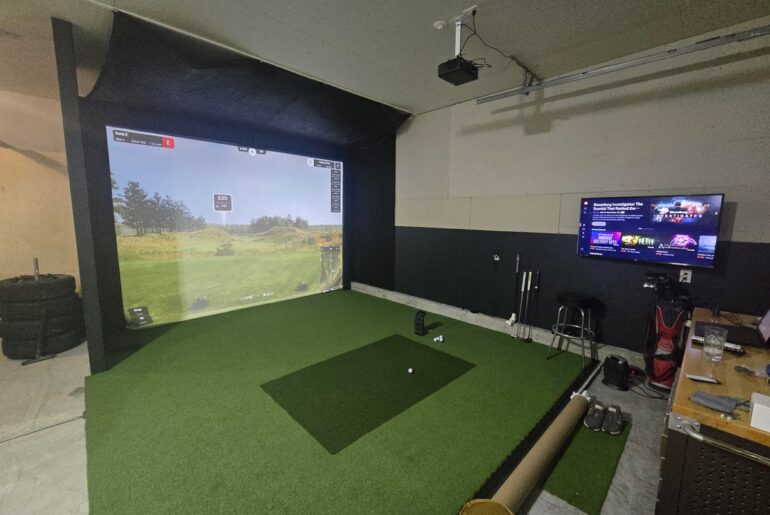
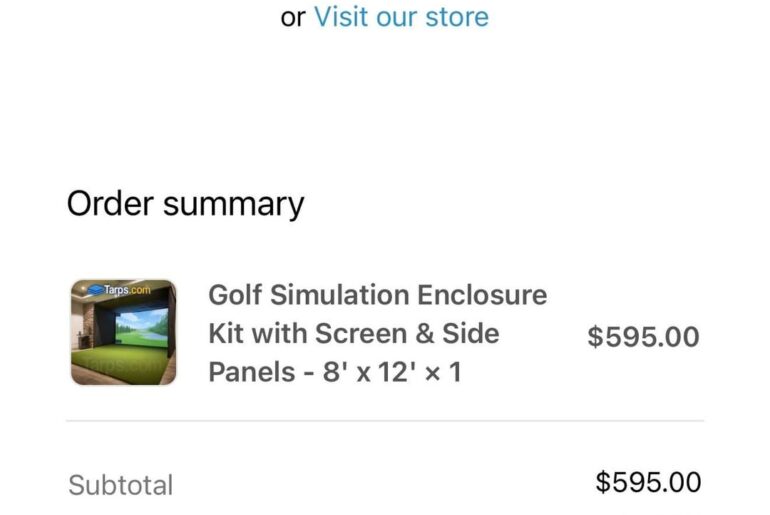
Thinking of building a home golf simulator, but confused about whether to go for an enclosure or a wall-to-wall setup? I’ve built both. And in this video, I’m about to explain the pros, the cons, and the key differences of each, so you’ll know exactly which setup is right for you. What’s the difference between the two anyway? Well, a pre-built enclosure is an all-in-one plugandplay style solution. you get everything that you need in one package. Whereas a wall-to-wall setup is much more bespoke and custom, and it takes a little bit more effort to get it right. Now, I’m fortunate enough to have both types of setup here in the Handicap Golf Studios. But which one do I prefer? Stick around and I’ll tell you later. Pre-built enclosures are designed to be quick, tofree, and up and running inside a couple of hours. They’re great if you’re not very DIY inclined and you’re effectively buying the convenience. Whereas wall-to-wall setups are a lot more time consuming. You’re going to be designing, measuring, drilling, cutting everything. Now, in my experience, when I built my wallto-wall setup, as amazing as it is, and as much as I love it, it literally took me weeks and weeks, if not months, of planning and then building it. Whereas with my Carl’s Place and Simspace pre-built enclosures, they were literally up and running and I was hitting balls in a few hours. Enclosures are portable. You can dismantle them and move them to a new room or take them with you if you change house. They’re great if you are renting or just unsure where you’re going to live long term. Now, wall-to-wall setups are permanent. Once you built it, it’s staying put. And if you do want to dismantle it, it’s going to mean probably ruining some walls and ceilings as you do so. Now, you need to decide which type of setup here means more to you. Are you going to be able to dedicate a room solely to a golf simulator or maybe a home theater as well? Or is it something that you may need to move in the future depending on are you going to have any more kids or you going to need that room for something else? In my old setup, in my tiny garage, I was fortunate enough to have a very understanding MS who was happy for me to use that garage solely as a golf simulator room. If we’d have needed it for something else, then yeah, I may well have had to have gone and got an enclosure. Now, the enclosures are a bit more expensive upfront since you’re paying for that pre-engineered design that’s like an easy to install solution with basically everything included that you’re going to need. Now, your wallto-wall setup can actually be a little bit cheaper as you can build your enclosure by simply attaching some metal galvanized angle to your walls and your ceiling and hanging your impact screen from that. You can also shop around and basically get all of the equipment that you’re going to need from different retailers so you can get the best price. Now, one caveat of this is that if you’re going to hire somebody to install it for you, this is where the costs can sort of flip. So, in order to keep the costs low, then you’ll need to be quite handy at DIY. In my experience, I managed to build a £20,000 setup for less than £12,000. But like I said earlier, it took me weeks and weeks to get it up and running. So if you can afford it and you can’t be bothered with all of the planning, then go for a pre-built enclosure. Now, enclosures are very box-like. They’re neat and tidy and give a quite a professional finish to be honest, but they’re not seamless. Sometimes, in all honesty, it feels a bit like a cage in a room. Whereas the water wall setups are much more clean, custom, and immersive. and it feels like it’s a space that’s dedicated to the simulator and it’s a room that is supposed to be there. Now, in my experience, I feel like the wallto-wall setups look a little bit more professional. They feel more immersive and just give you an overall better experience. Enclosures usually come in fixed sizes or dimensions. And depending on the size of your room, you might actually be losing out on utilizing some of that height or width that your room technically has. Whereas wallto-wall setups make use of the entire space, ultimately giving you that more immersive feel. Now, in my experience, putting an enclosure in a larger room with some space either side doesn’t particularly look or feel right. Whereas my wallto-wall setup feels like it’s fully immersive and it looks great and it’s like a space that is simply dedicated to my golf simulator. Now, all your enclosures come with built-in sidewalls and roof or ceiling protection, often in the form of a black material surround. Some of them will also come with this foam protection that you can put along the poles to minimize the risk of a golf ball ricocheting back at you. Now, the wall to-all setup, they’re only going to be as safe as what you build. And it all depends on what you put as your side and ceiling protection. Now, because there’s no poles, then there’s going to be less chance of ricochets happening, but you do have to still protect that metal galvanized angle that you’ve put along the wall and the ceiling. And then when it comes to the side and ceiling protection, you’ve got a variety of options, whether that’s netting, curtains, some foam tiles like mine or some of the more luxurious leather back tiles. It’s completely up to you which material you use and how far out you bring that protection. Now, in my experience, I guess it kind of completely depends on your space. I’ve never had any issues really with the enclosures. There’s been an occasional shot that’s hit the metal pole that is protected by the foam and it still does bounce back at a fair speed, but it definitely takes a lot of that speed out of the impact. And in my setup here and in my old previous setup, anytime that I’ve shanked a ball into the side wall or I’ve hit a lob wedge up towards the ceiling, these foam tiles have done a fantastic job. But I have been in simulators before, some wall-to-wall simulators that have used some much more expensive protection, and they do literally just kill the ball on impact. So, it all depends on the cost and how much you want to spend on it. But, like I say, in my experience, these foam tiles have done a decent job. With an enclosure, you are quite limited by its design. You can add some extras to it, but on the whole, you can’t really change its size or shape. Now, with a wall to-all setup, it is fully customizable. And for example, you can choose some stunning bespoke wall and ceiling protection that truly finish off the final aesthetic of your golf simulator. And if you ever want to upgrade or change anything in the future, you can do. Now, something that I didn’t mention before is that with an enclosure, you can feel a little bit boxed in. And what I mean by that is if the enclosure fits the size and space of your room quite snugly, whereas I love how the wallto-wall setup is more open and inviting, and it just makes me feel like I can swing more freely. I think the easiest way to summarize it is if you can’t be bothered with the planning and the DIY and you can afford it, then go for one of the pre-built simulator enclosures. But if you’re more interested in building a bespoke room and it being fully customizable and designing it to the exact taste that you want, then you’re going to have to look into a wall-to-wall setup. Now, earlier on, I promised I’d reveal which one I prefer. And look, I’ve got both setups in here like I’ve mentioned and I love both of them. I mean, let’s be honest, to be able to play golf inside in terrible weather or when it’s freezing cold, then it’s just amazing. So, either setup is going to be great, but in my opinion, I do very much prefer the wallto-wall style setup. It’s just much more immersive. It’s a lot more customizable and bespoke. I thoroughly enjoyed the planning and the research stage. I didn’t particularly enjoy the building stage. Yeah, that absolutely killed me. But on the whole, once I got the finished product, I absolutely love it. And if you gave me the choice of a bespoke room dedicated to a golf simulator or plopping an enclosure inside a larger room like a double garage or something like that, I would go for the wall to-all setup all day. And I think secretly I do quite like the DIY aspect of it. Now, if you want more information about how to build your very own golf simulator, then check out the link in the description below to my stepbystep walkthrough guide, which literally teaches you everything you’re going to need to know about how to build your perfect golf simulator. But I’ll also put some links in the description below to some retailers who sell those pre-built enclosures as well as some of the components separately, and those will be discounted links. So, check out those. Use my discount codes, save yourself a little bit of money. If you’re new here, my name is Mitch. This is Handicap Golf. Subscribe to the channel if you’re interested in everything to do with home golf simulators. And hopefully I will see you in the next one.
⛳️ Learn how to build your DREAM home golf simulator the easy way: https://mitch-s-site-003e.thinkific.com/courses/golfsim
📩 Get weekly golf simulator tips: https://handicap-golf.kit.com/c4e58a2978
___________________________________________________________________________
🇺🇸 Buy your golf simulator enclosure from Carl’s Place here: https://alnk.to/eONfI2l (international shipping available)
🇺🇸🇪🇺 Get a 5% discount on all golf simulator enclosure from SimSpace using code HANDICAPGOLF: https://simspacegolf.com/?ref=fjexyzne
___________________________________________________________________________
Thinking of building a home golf simulator but not sure whether to go for a ready-made enclosure or a wall-to-wall DIY build? I’ve built and tested both. In this video, I’ll break down the pros, cons, costs, and key differences so you can avoid confusion, save money, and choose the setup that’s right for your space.
___________________________________________________________________________
✉️ For brands partnerships contact Mitch: golferhandicap@gmail.com
#golfsimulator #golf #golfsim


2 Comments
What type of price are the foam tiles
I've built an enclosure and screen from Carls, and…this winter I'm redoing the entire garage for a wall to wall set up. I'll be adding walls, insulation, a mini-split and lighting plus clearing out ceiling space.