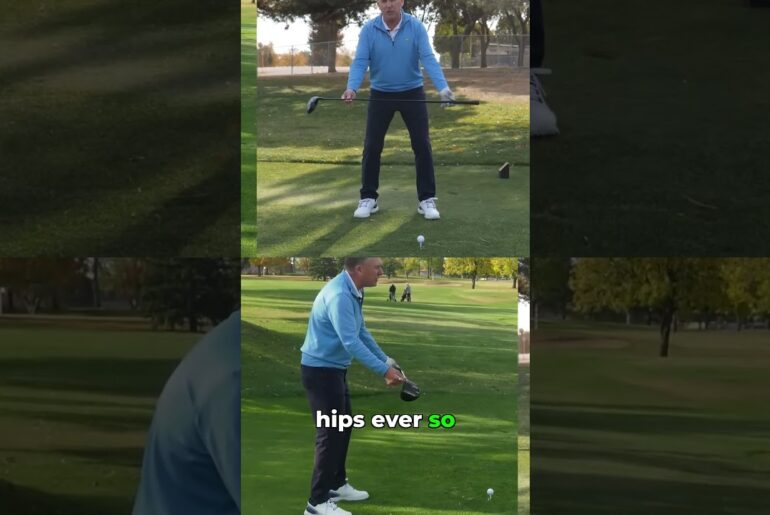
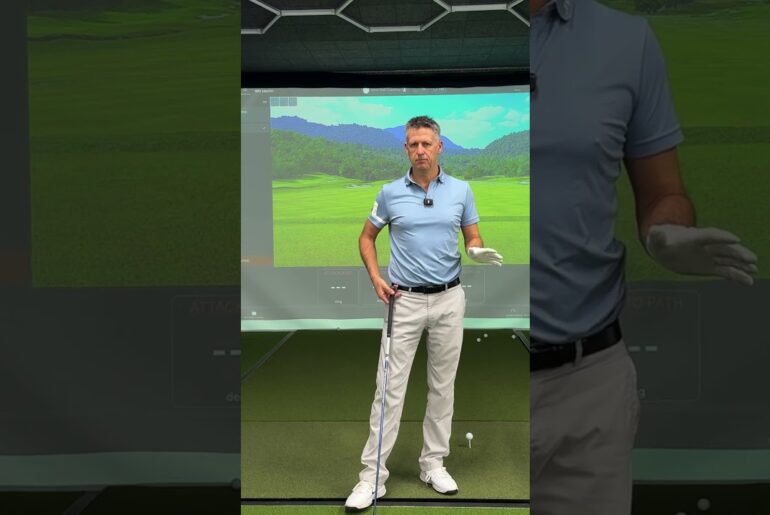
Learn the 4 key fundamentals of the golf setup that give you a solid foundation for every swing: grip, aim & alignment, stance, and posture. Whether you’re picking up a golf club for the first time or refreshing the basics as an experienced player, this step-by-step guide will help you build consistency and strike the ball better.
⛳ Chapters:
00:00 Intro
00:25 How to Hold the Club (Grip)
04:20 How Tight to Grip it (Grip Pressure)
05:40 Aim & Alignment Made Easy
08:43 Finding the Correct Stance
09:53 Perfect Golf Posture
13:10 Recap: 4 Keys to a Great Setup
Mastering these four elements of the golf setup will give you the consistency, balance, and control needed for your best swing.
In this video, I’m going to show you the four things that guarantee you’ve built a solid foundation to put the best swing on the ball that you can. And they’re going to be how to hold it, the grip, how to aim and align yourself, what stance to take, and what your posture should look like. And this works for beginners, and it also works for the most experienced guys on this planet. The only point of contact you have with your golf club is through the grip. So, it’s very important that your grip is correct. And there’s variations of the grip, which I’ll tell you about, but you’ve got to get it on the handle in the right way and at the right pressure. So, let’s look at how you put it into the hands properly. If you were to put the glove on the ground and lead it towards you, just have it over the the crease of the bottom of the fingers here, the fingers to the hand. You don’t want it like this cuz you can’t swing it properly. So, you put it across the fingers, you close the fingers, then close the hand over. And that’ll give you a very good hinged way of swinging which will give you the proper speed and everything you have later. But if you look at where the fingers go and you’ll see if if you have a grip with a a center line or or you know mine has the the Golf Pride logo there. So whatever logo it is that’s your middle line. You’ll see my thumb, as I’m a right-handed player, my left hand is on the club, thumb is to the right of that. And the little Vshape here, it’s basically lined up with the middle. the right hand. If you do that with your right hand and you get the this crease up the middle here, that is going to cover the thumb like that. And then you fold the other fingers around and you’ll see my right thumb is on the left side of that logo. So they’re like a butterfly. They’re like that. So we take the the left hand on then the right hand on. Now there’s different ways of holding the club from from that point. If you were hold it, you could have what we call the the 10 finger the baseball grip. So that way all 10 fingers are on the club. You’ll see you won’t see many pros playing it that way. Then there’s the they call the Ven grip, the the overlap. So you little lift your right hand, little finger off, slide up to the other one, and then overlap like that. And you’ll see a lot of pros play with those two fingers interlocked. The idea is the cans stay close together and are not going to move apart, which is unlikely anyway with modern grips. Uh the old days the grips were leather, could get shiny. Um these modern grips are almost tacky when you hold them. But it always keep the hands connected. Next thing, you know, my grip actually I go for the double overlap kind of the gym furic grip works for me. It depends on the size of your hands, your size of your grips, strength in your hands. You’ll find one that’s comfortable. Beginners nearly always go for the 10 finger because that’s the most comfortable for them. You find children the hands are not so strong. 10 fingers is the best way. You just don’t want 10 fingers like this. Do not have the hands apart. They m must touch. Touch or slightly overlap is all good. Next question. People say how hard to hold the grip or to pressure. Well, you don’t want white knuckle. If you’re holding it really tight, you cannot move it. You got to hold it tight enough not to let go and not so loose that it moves around in the hand like this. So, if you were to put it in your hand the correct way, get that hand on, then just hold it out like this. Take the thumb off, you feel the weight, the pressure in the fingers. Now, that’s the amount of pressure you want to feel in the grip with both hands. So, I put that on and I can push that thumb down just a little bit. So, I feel the same pressure as the other one. I put my right hand on and I feel the same pressure through all the fingers. That will be the ideal pressure for you. You’ll find as you get more experienced, you might have it looser or tighter, and it does depend on the shot. But if you start want the basics right, get the grip right, and you got a good chance of hitting a a good shot. without letting go of the club. Okay, the next thing we’re going to look at is aim and alignment. I’ve set up this club here to hopefully aim at the orange football. When we’re aiming a club, we’ve got to aim the face perpendicular to that line. So, if you have this club down, it’ be 90° across that line. Now with a tiny little face that could easily move slightly off line if you have a spot on that line a bit closer so within a foot or two it’s easy enough to aim the face at that point. One thing to remember as you get more loft on here it plays tricks on your eyes. So, what you’re looking at is the bottom one or two grooves as your line. Ignore the rest because it can make it look more open or more closed depending which way you’re looking at it. Another kind of forgotten way to align is with a much bigger line, which is the whole club. And you’re putting that down perpendicular. You’ll find you’ll be pretty well on the line then because it’s much easier to judge the big stick than the tiny little one at the end. And you also have to align your feet. Now, if I was to stand here and say, “Okay, that’s over there.” And I put my feet down here. What I’m going to So, I think that’s on line. I think that’s right. The problem is that makes my left foot closer to that line than the right foot is. So, what we want to do is have a parallel line parallel to the target line that we set our feet up on. And that would give us the correct alignment. When you stand behind and you look at that, if I just move the camera across, you’ll see that actually points left at target, but that is on target. If I was to align my feet at the target like that. [Music] Okay, I’m aligned there now. I think that’s correct. I put that down. That club is pointing way right of the target. So you aim the face of the club first and align your feet parallel to the target line. It’s getting rather windy here, but let’s keep going. So let’s think about stance. So we’ve got a grip. We’ve aimed it. We’ve aligned ourself. What stance are we going to use? Let me show you this head on. The ideal stance, if you were to lean over with your hands down, they touch the knees. That’s about the right stance for you. If they’re in between the knees, you’ve gone too wide and you might find it much harder to to turn, especially when you get older and you’re less flexible. If you’re inside the knees, you’ll find you get unbalanced and you’re trying to swing hard and you got too narrow a stance. So this you take your stance at a about they say shoulder width but if your arms are hanging hang it to your knees just relaxed hanging to the knees that’s the perfect stance that leaves into what posture and posture is how you face the ball. So, one thing we don’t want to do, we don’t want to stand up like this. You’re not going to hit it very well that you don’t want to stand all the way over like this either. What posture do we use? Well, you hear people talk about the goalkeeper posture, you know, when a goalkeeper is ready for a penalty in soccer football. He’s like this, solid but relaxed. So, what we’re looking for, we’ve taken our grip aim aligned, got the stance at the shoulder width, and if you point the club at your belt, and you bend down, you pretty much got it. What we’re doing, we’re bending not from the top here. We’re not sort of doing this, and we’re not sitting down like this. We just bend down like that. You’ll find that’s pretty much right the right distance. If I look here, it’s about put my hand on my belt, thumb on the end of the club. Look, that’s about the distance you’re looking for. If you were to have the club like this and drop it down, it should be on the lower part, just above the knee here. So, stand there. Bend down. You don’t want to flatten this. You see people arching their back, sticking their butts out. They’ve heard you must stick your butt out. You do not want to arch it that way. That will give you all sorts of back problems. It’s just a very relaxed natural curve forward. Your arms are relaxed down in front of you. Left arm is straight or not lock. Don’t lock it. A stiffness. Straight but relaxed. your knees as you bend forward, you should have to counterbalance yourself. So, we’re looking at the knees are over my shoelaces there, not out here over the toes. My weight’s not on the toes. My weight’s not on the heels. Everything goes through the laces. So just slight knee bend, not a squat. Slight bit knee bend over the laces in front of you. Bend forward and you’re in the perfect posture looking straight at the ball like this. Looking down here. Can’t do that. You don’t want to be down here looking at this part. Very easy. One hand width. Relax down. But with your perfect distance, nice relaxed, straight, relaxed back. And your grip’s on whatever grip you’ve decided to take. So, if we recap this, grip, aim, and alignment, stance, and posture. If you get those four things right, you’re setting yourself up for a good shot. Doesn’t matter whether you’re an absolute beginner or a very experienced long playing golfer. It’s always worth checking those four things are correct and consistent. If you’re consistently in the same place, you know that club’s got to hit the same place every time. Once you can swing the club in the same way every time, you got to play good golf.


